




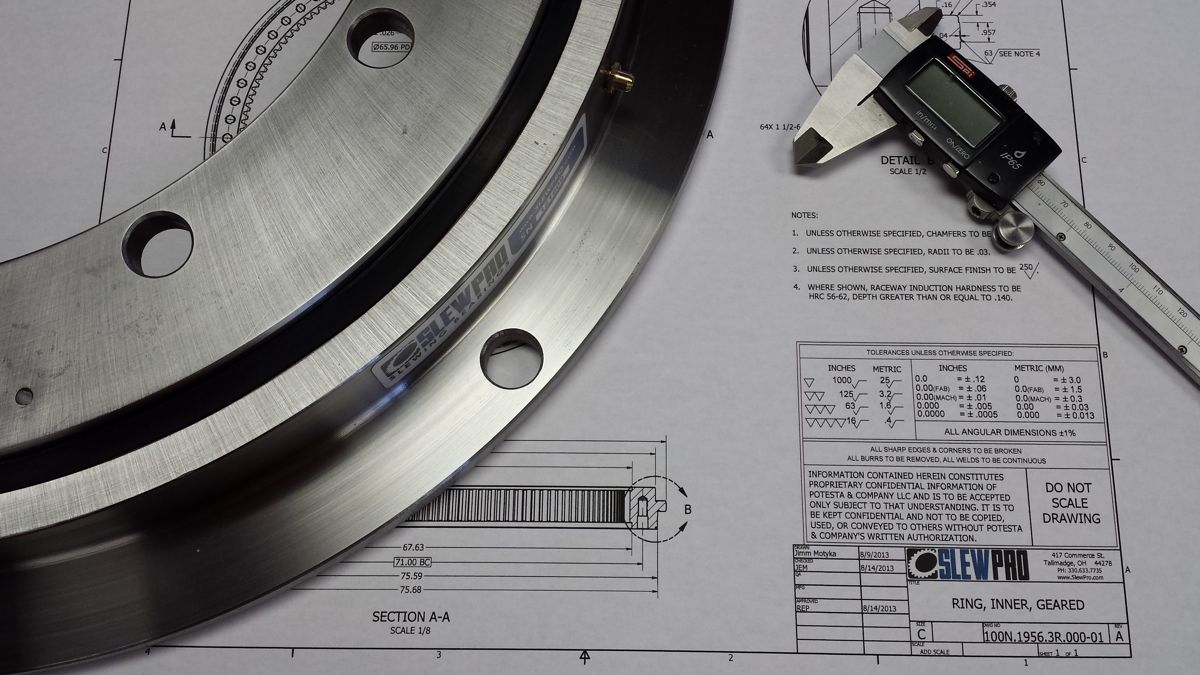
A slewing ring bearing carries heavy axial, radial and moment loads, often in the worst conditions a machine sees. It still has to be treated as a precision instrument. Most early failures we are asked to look at trace back to something that happened between the delivery truck and the first full-load cycle: a distorted mounting surface, a loading plug in the wrong place, bolts torqued unevenly, or a bearing that sat on a shelf too long.
This checklist brings together what we tell customers at each stage. Your bearing drawing and the instructions supplied with it always take priority. Where they give a value (bolt grade, tightening torque, grease, relubrication interval), use theirs.
1. Receiving and storage
- Keep it in its packaging until you install it. Bearings leave us lightly lubricated, wrapped and crated for shipping and short-term storage. Store them in a clean, dry place.
- Store and move it flat. A slewing ring should be transported and stored horizontally, in a purpose-built crate. Standing it on edge or hanging it from one point can take it out of round, and a ring that is not round will not run properly once it is bolted down.
- Lift it properly. Use a sling or lifting gear rated for the bearing and lift at several points. Protect gear teeth from contact with other surfaces.
- Watch the storage time. We recommend no more than six months in storage. Beyond that, keep the raceways greased and free of rust, and relubricate before installation.
2. Prepare the mounting structure
The structure the bearing bolts to matters as much as the bearing. Don't assume it will spread the load evenly: many structures don't.
- Flat, rigid and machined. Both mounting surfaces must be machined flat and stiff enough not to deflect under load. Riser pads, weld spatter, paint runs or excess metal between bearing and structure all distort the ring.
- Clean. Even a small chip or piece of debris under the ring concentrates load in one area.
- Bolt holes all the way round. Fasteners belong on a uniform bolt circle, not just in the heavily loaded zone. Load acts around the whole arc, and an uneven pattern lets the ring flex.
Distortion from the mounting surface shows up as:
- load concentrating in one part of the raceway
- false readings during bolt tensioning
- bolt fatigue
- in the worst case, total bearing failure
3. Position and bolt the bearing
- Put the loading plug and the hardness gap in the minimum load zone. Both are marked on the bearing. Placed in the heavy load zone, they are a common cause of premature failure.
- Use the specified fasteners. Bolt grade, size and number are part of the bearing design, so use what the drawing calls for. Your fastener supplier can confirm expected bolt loads for your structure.
- Tighten in stages, in a crosswise pattern, to the torque on the drawing.
- Rotate the bearing as you tighten. A tight spot that develops while you torque the bolts points to a flatness or distortion problem. Stop and find it.
4. Check it before it goes into service
- Races are round after the bolts are tightened.
- Rotating torque is what you expect. A bearing that turns noticeably harder after mounting than before almost always has a mounting problem.
- Gear backlash is correct at the high point of the gear (usually marked).
- Bolt torque is rechecked after the first period of operation, to catch any loss from settling.
5. Lubricate after installation
- Grease the raceway once it is mounted, even though it arrived pre-greased, rotating the bearing as you do so the grease reaches the full circumference.
- Lubricate the gear by brush or spray immediately after assembly.
- Specify integral seals, and shrouding over the gear where the environment is dirty or wet.
Which grease, how much and how often are covered in our slewing ring lubrication guide.
6. Maintain it
- Relubricate on schedule with a grease compatible with the original. Don't overfill: grease purging past the seals means too much.
- Inspect regularly for wear, pitting or corrosion on accessible surfaces, damaged or leaking seals, and contamination in purged grease (metal flakes, dirt, water).
- Keep it clean, without solvents or cleaners that attack seals.
- Recheck bolt tension at the intervals in your equipment manual.
- Act on warning signs. Noise, vibration, rising temperature or a change in rotating torque need investigating. Our article on common slewing ring bearing failures explains what each one usually means.
Need the details for your bearing?
Every SlewPro quote comes with a 3D model and drawing, so the mounting dimensions, bolt pattern and loading-plug position are in your hands before you build the structure. If you are replacing a bearing from another manufacturer, look up its SlewPro equivalent or send us the drawing and our engineers will review the installation with you.